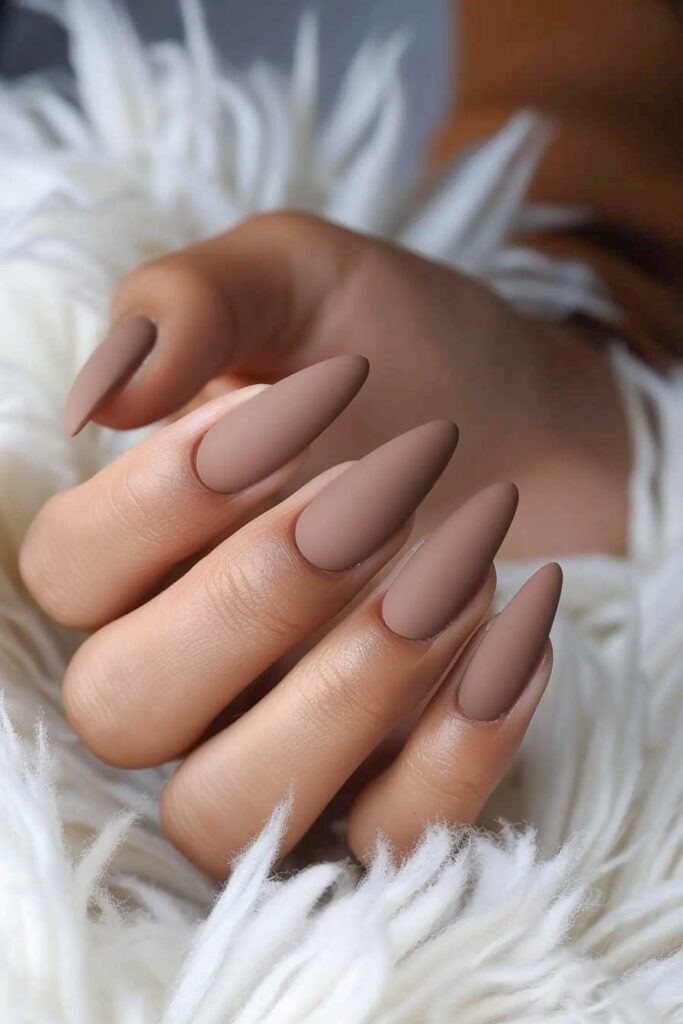
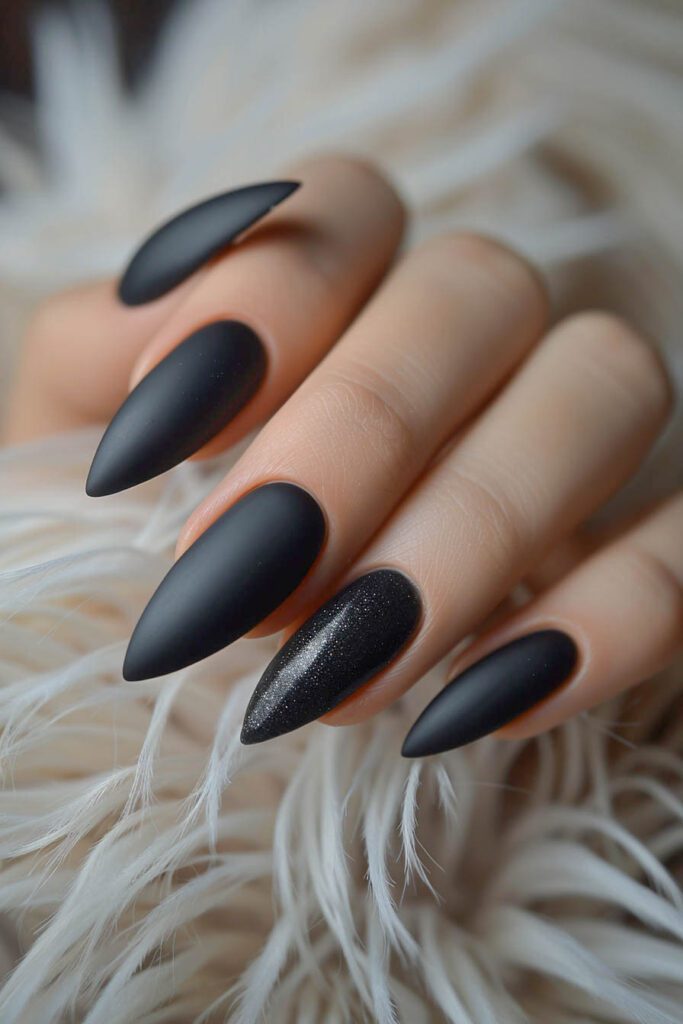
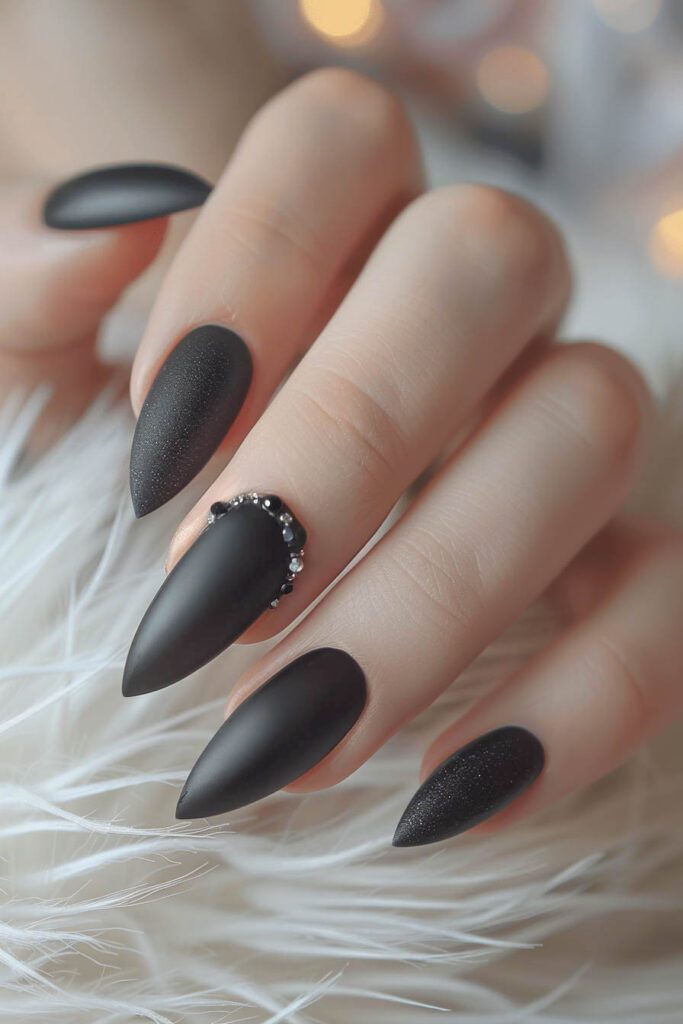
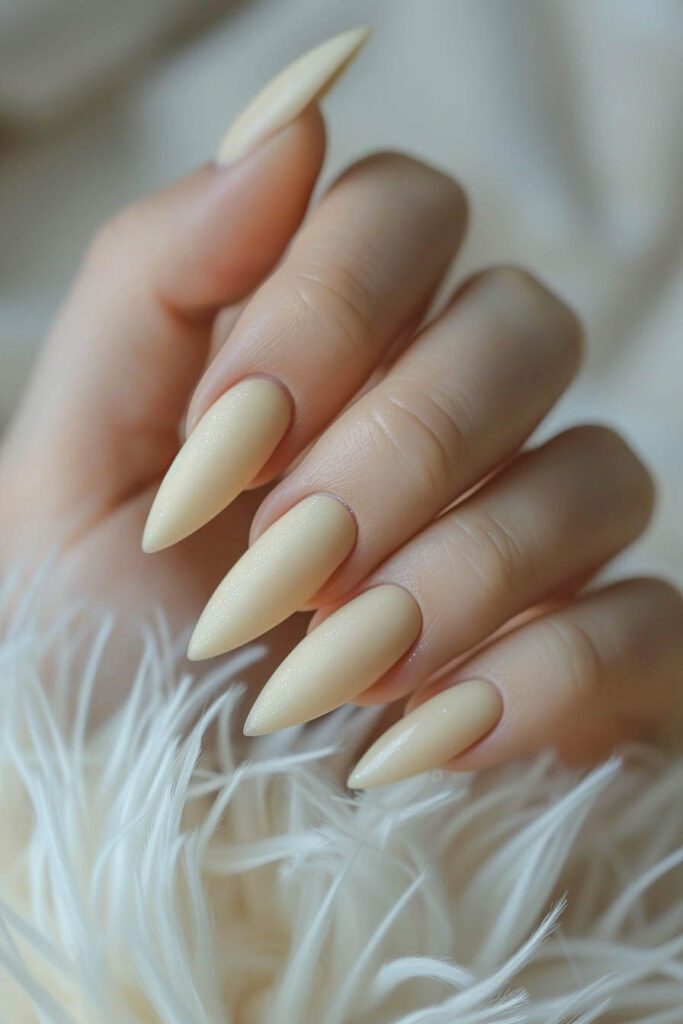
Discover 30+ gorgeous matte nails to inspire your next manicure. From subtle shades to bold designs, find the perfect matte look for any occasion.

Matte nails have taken the beauty world by storm. Their smooth, velvety finish provides a sophisticated twist to traditional glossy manicures. Whether you’re aiming for a minimalist look or something more intricate, matte nail designs offer endless possibilities. In this post, we’ll explore over 30 stunning matte nail ideas that will inspire your next salon visit.
Why Choose Matte Nails?
Matte nails are perfect for those who want a chic, modern look. They are versatile and can easily be paired with any outfit or style. Unlike glossy nails, matte nail designs don’t reflect light, giving them a unique texture and finish that stands out. Additionally, matte nail polish tends to dry faster and is less prone to showing smudges and imperfections.
Essential Tips for Matte Nails
Before diving into specific nail ideas, here are some essential tips to ensure your matte manicure looks flawless:
- Prep Your Nails: Clean, shape, and buff your nails before applying any polish.
- Use a Matte Top Coat: If you don’t have matte nail polish, a matte top coat can transform any color.
- Avoid Oily Lotions: Oils can make matte manicure look glossy. Opt for oil-free products to maintain the matte finish.
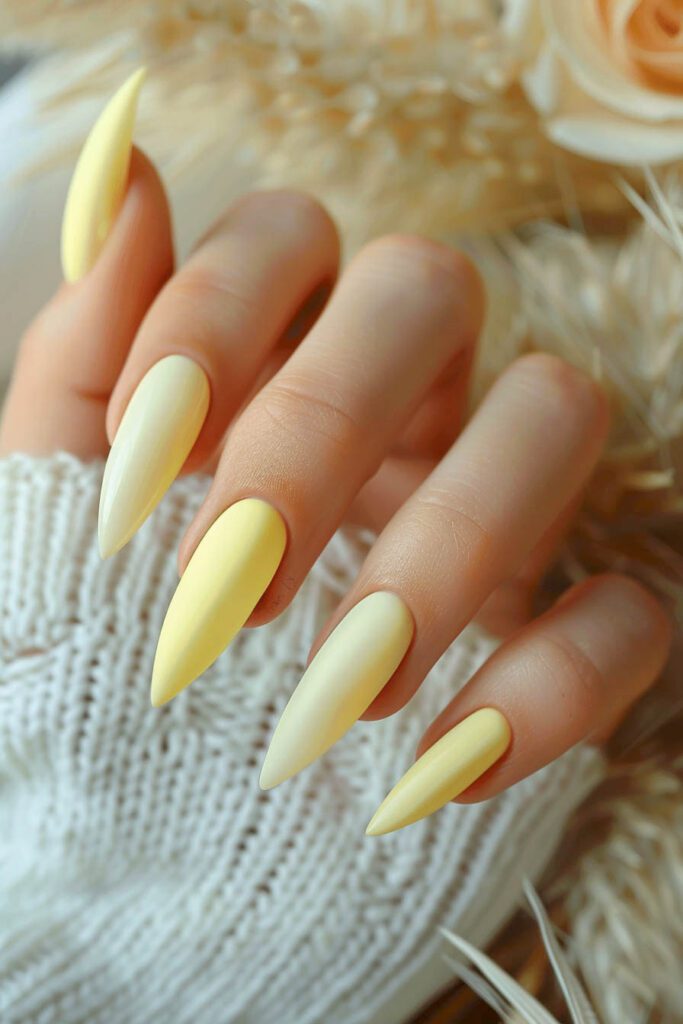
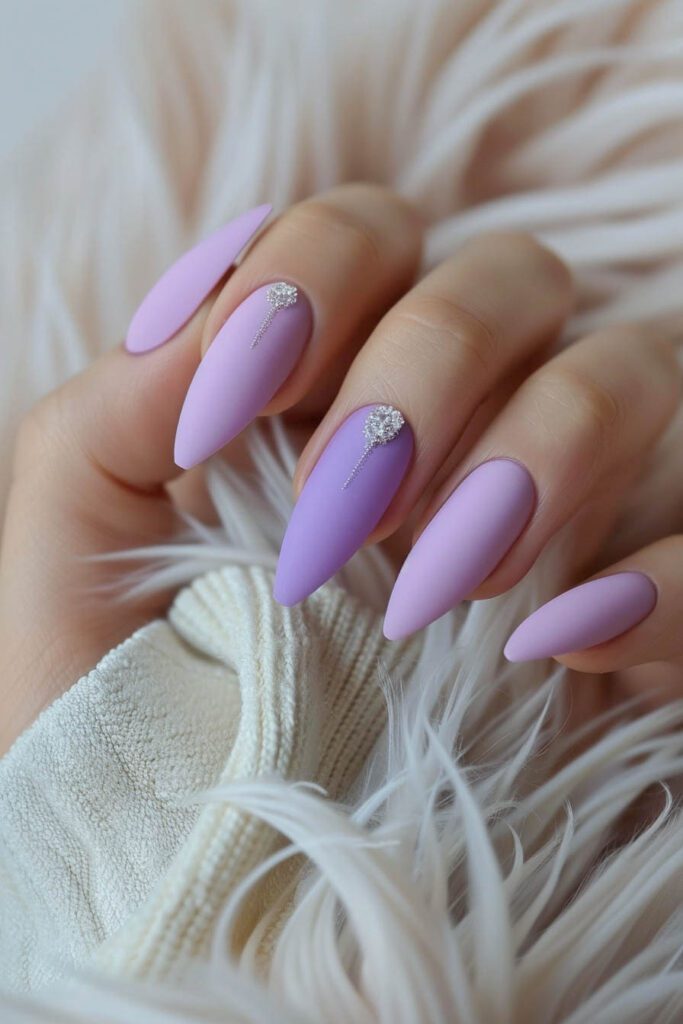
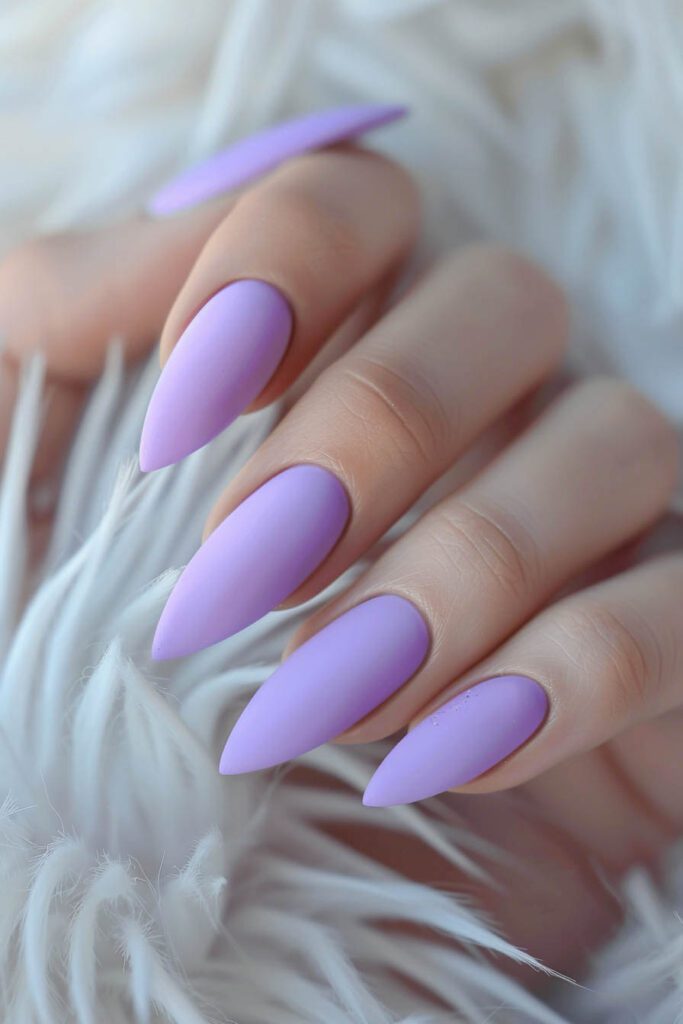
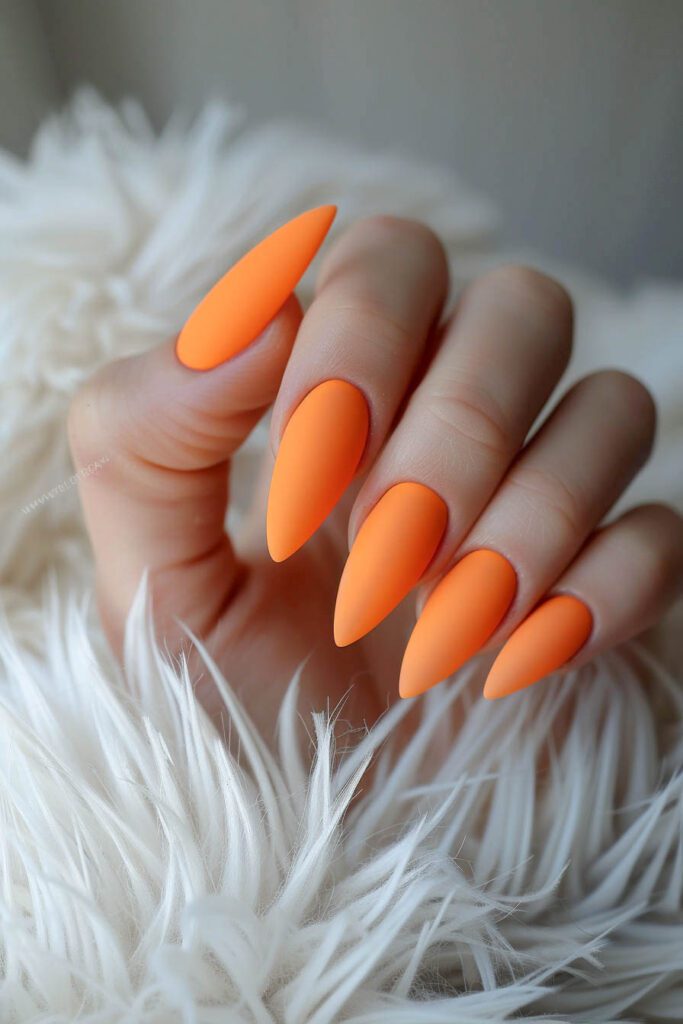
30+ Stunning Matte Nail Ideas
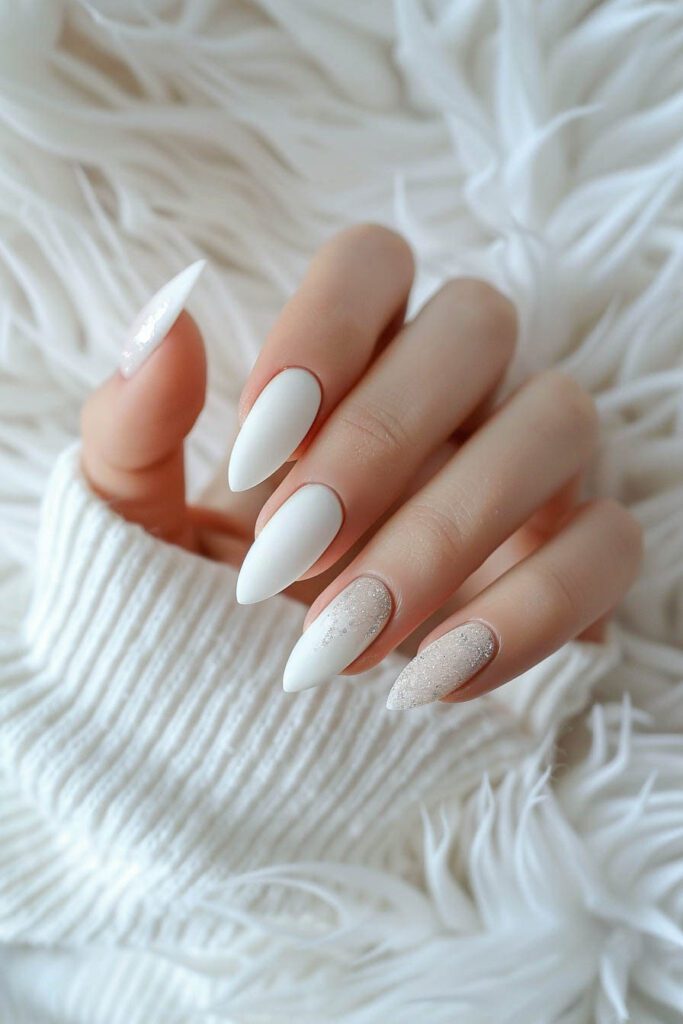
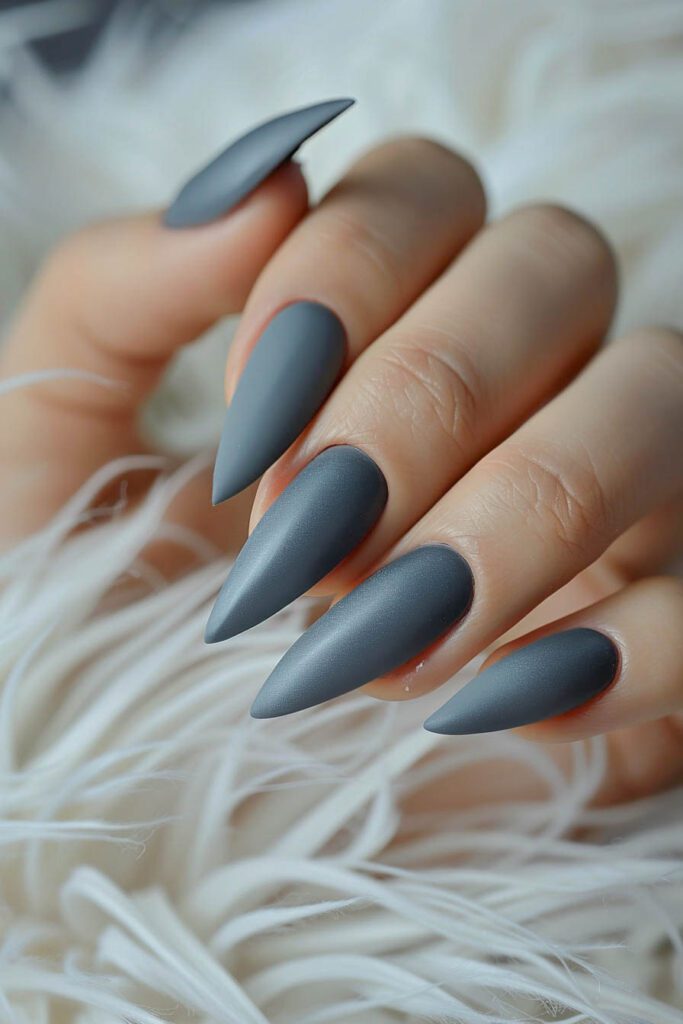
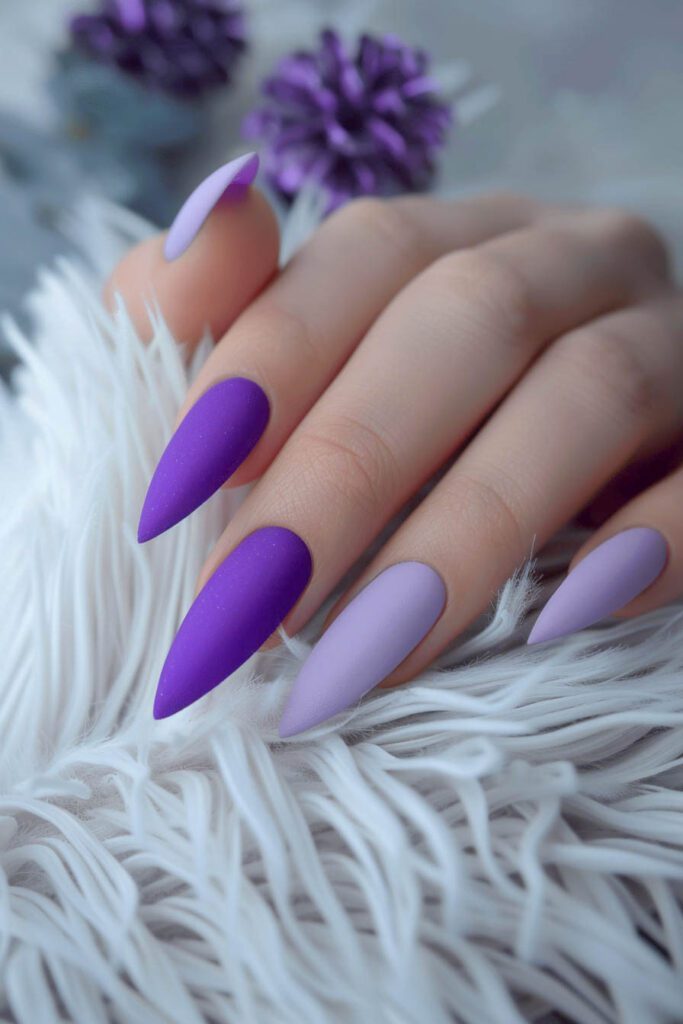
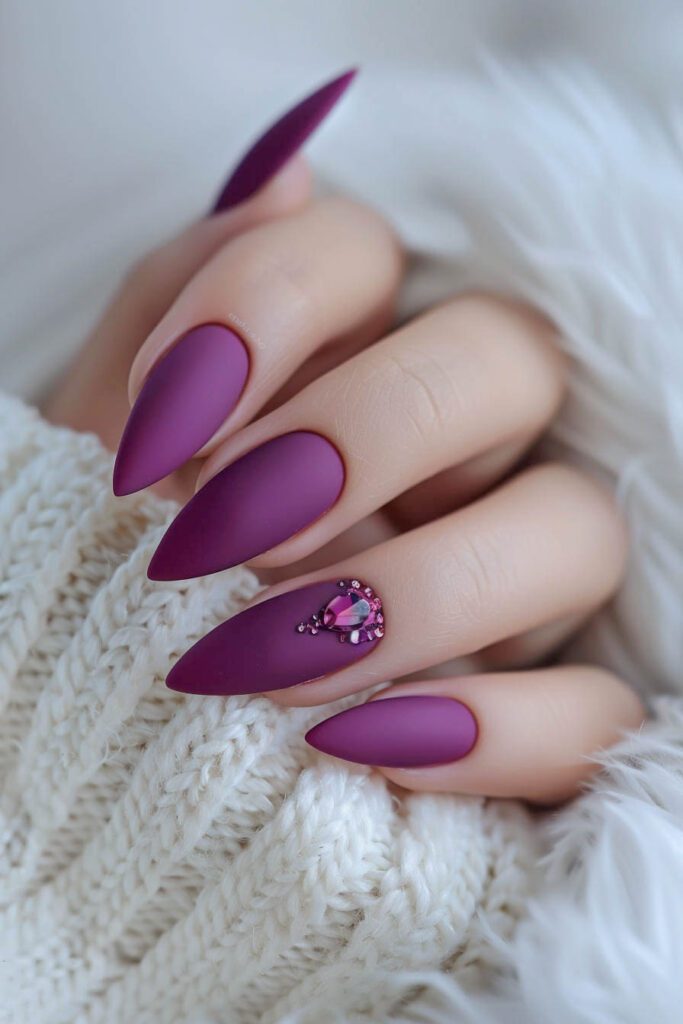
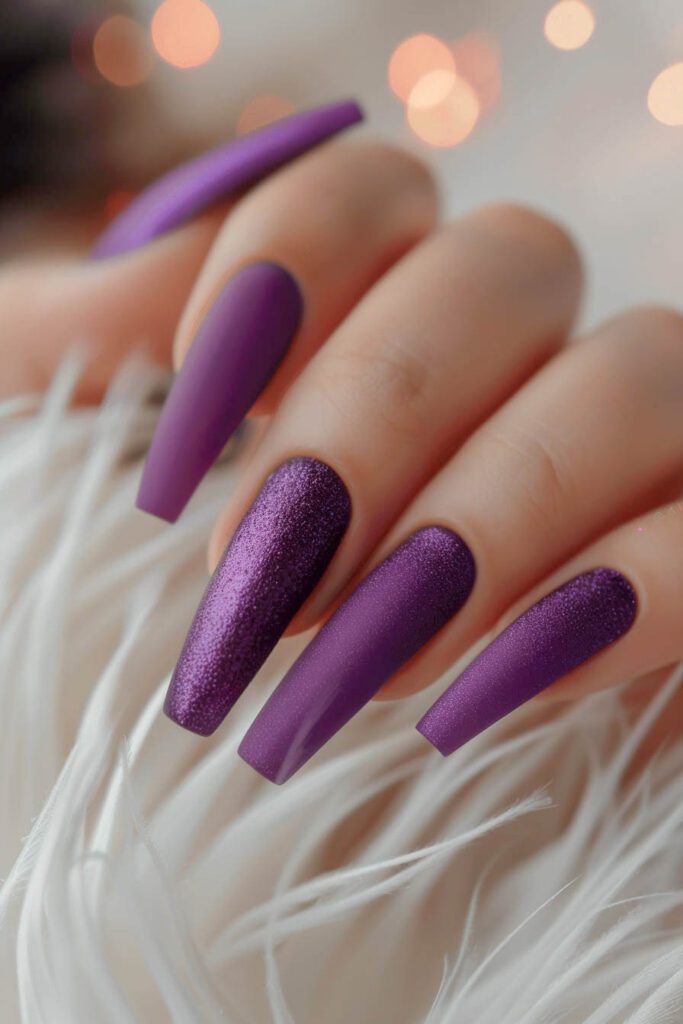
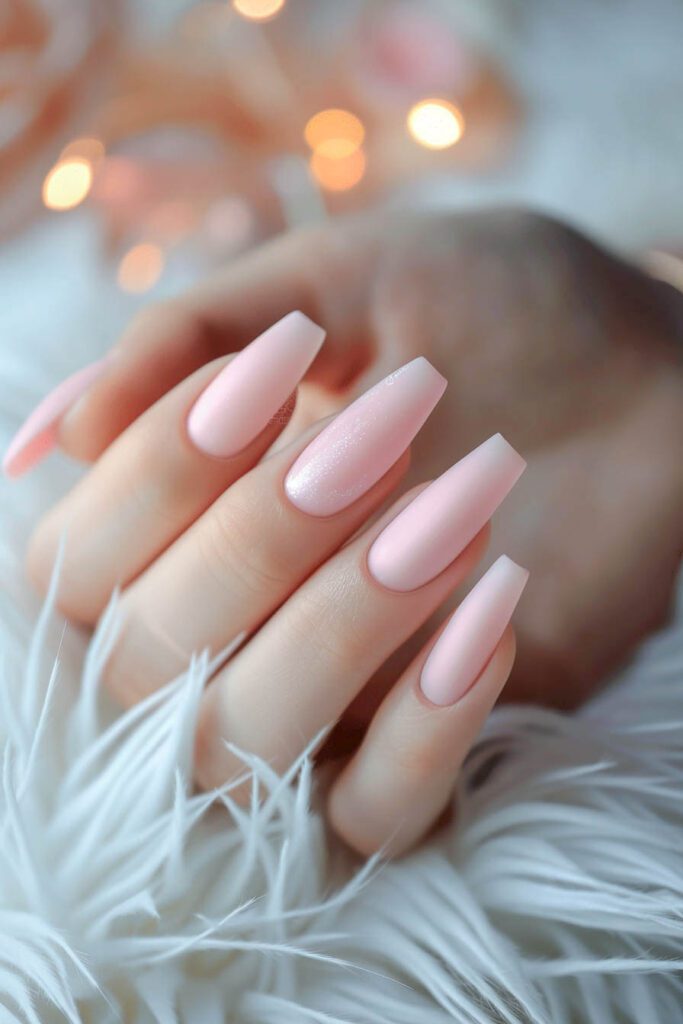
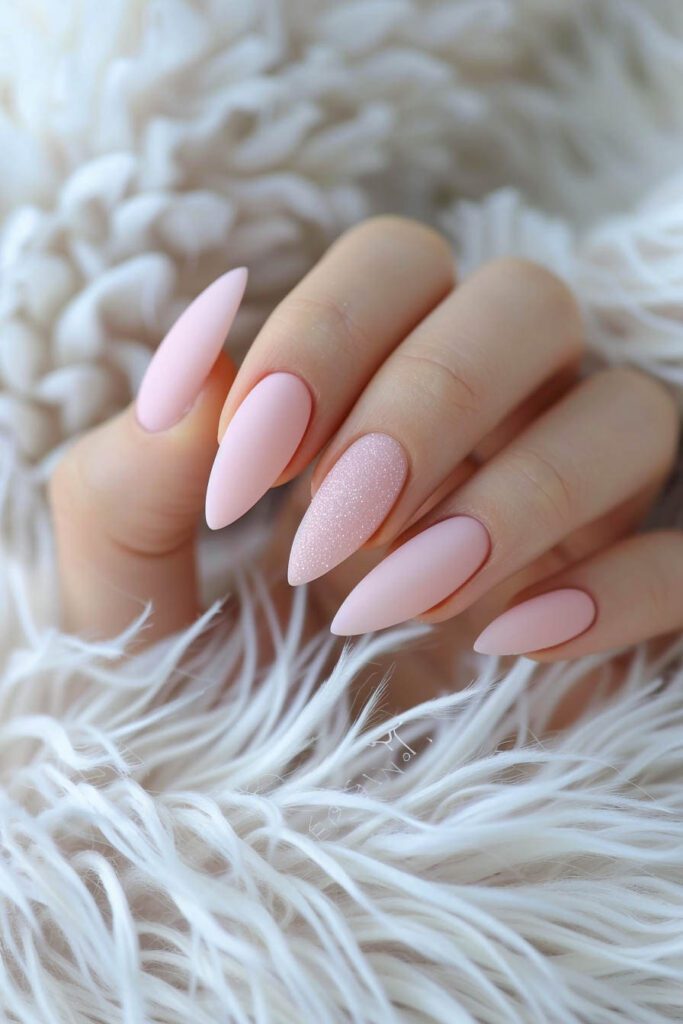
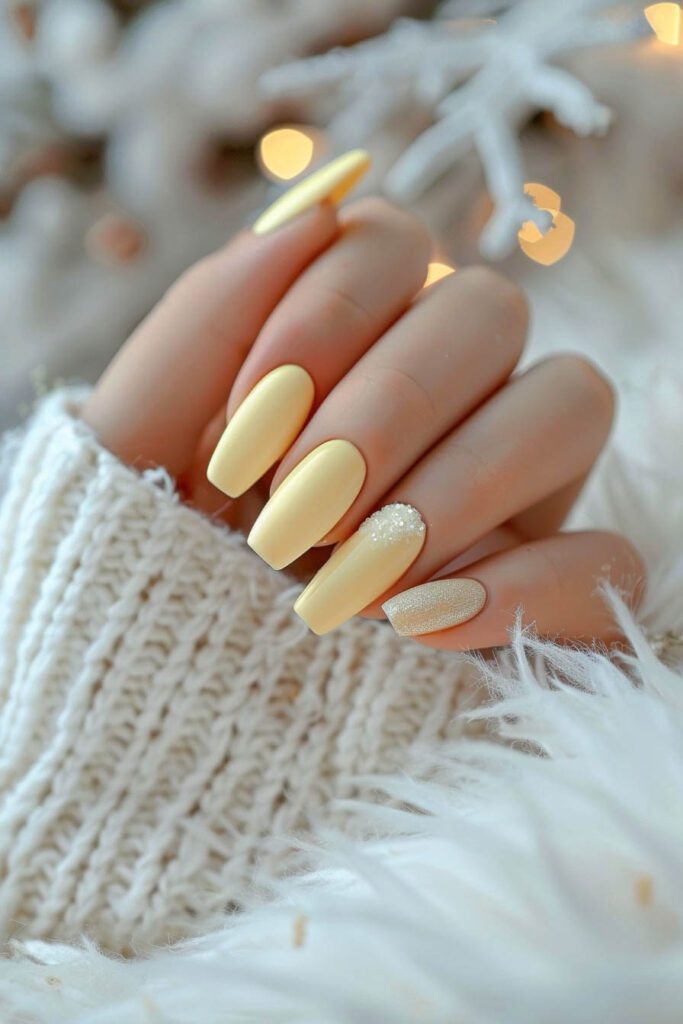
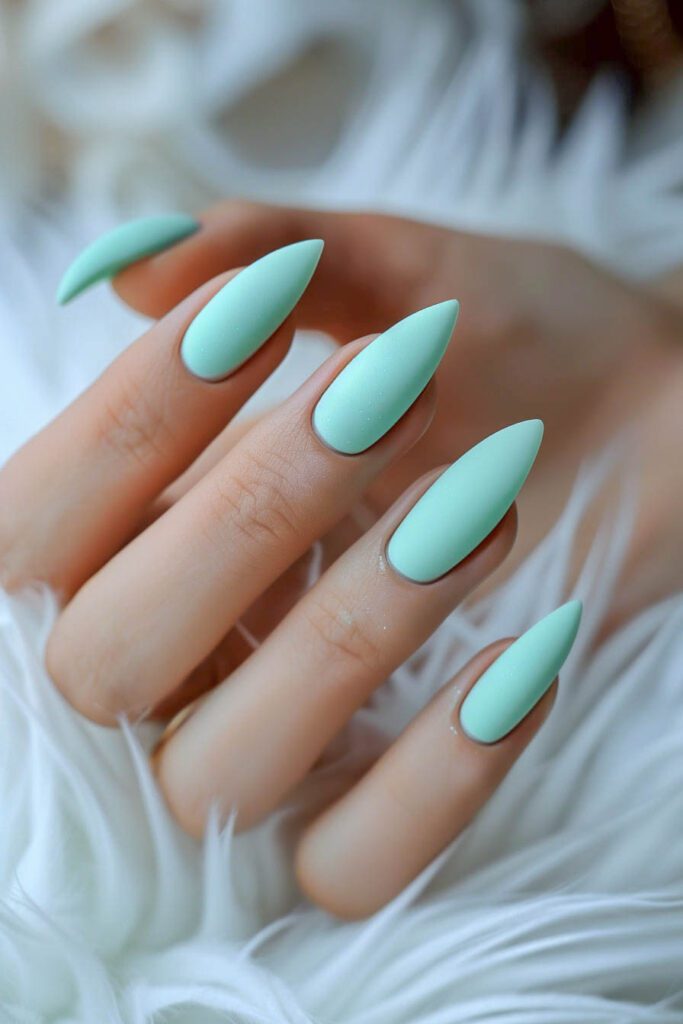
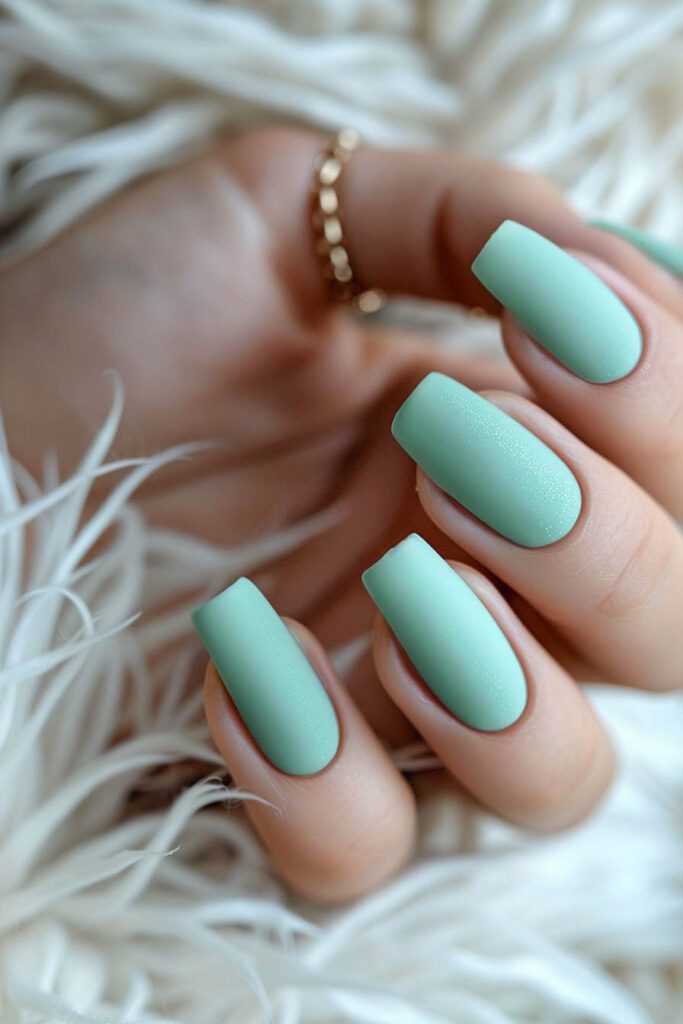
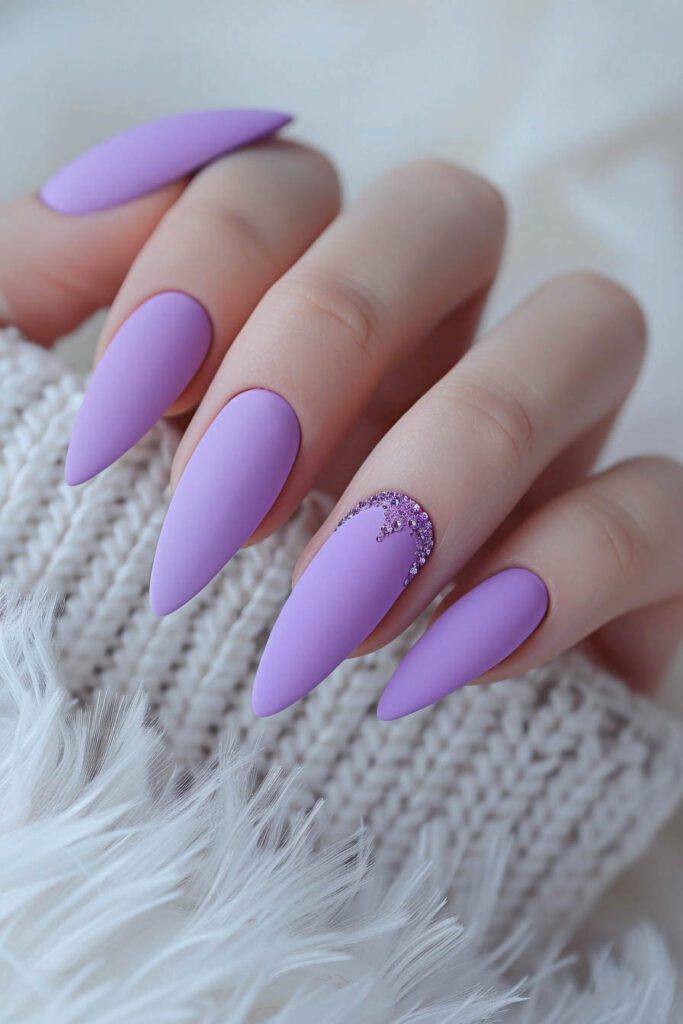
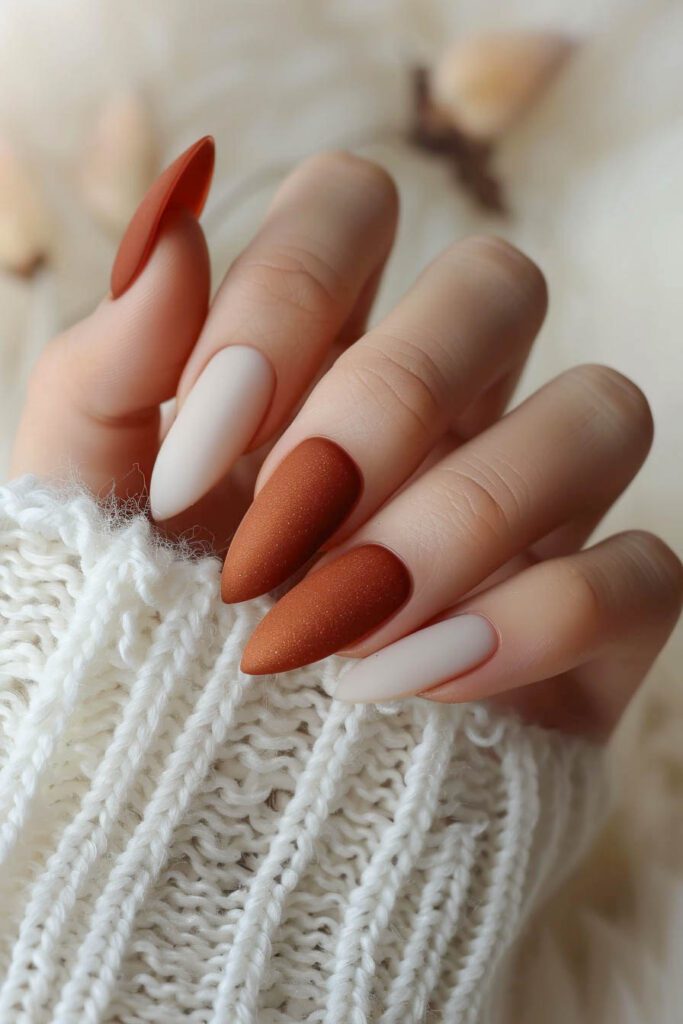
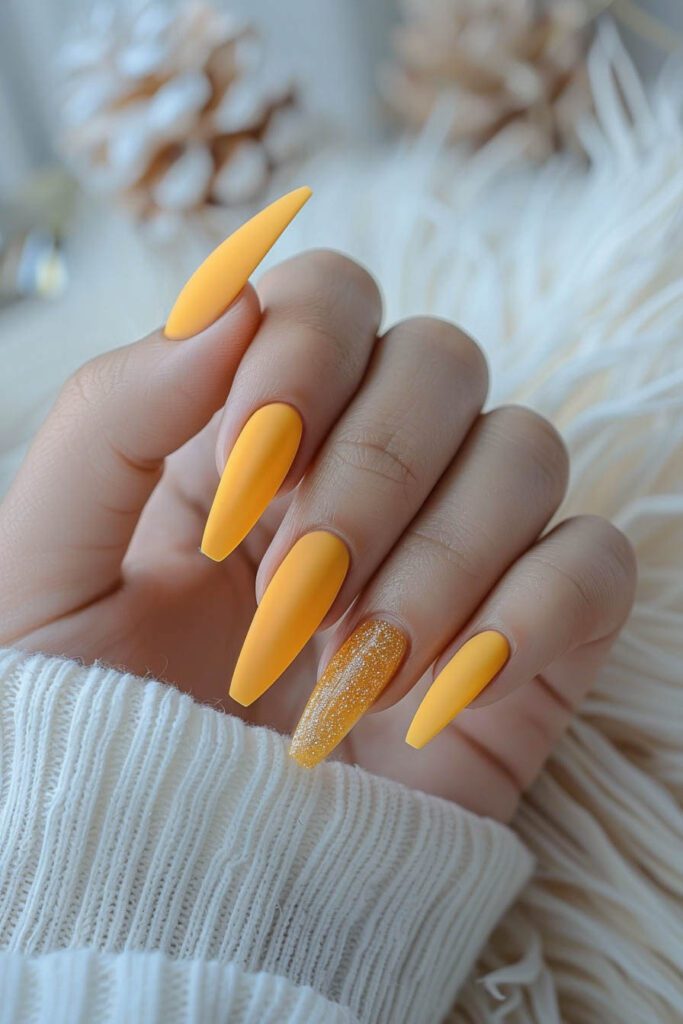

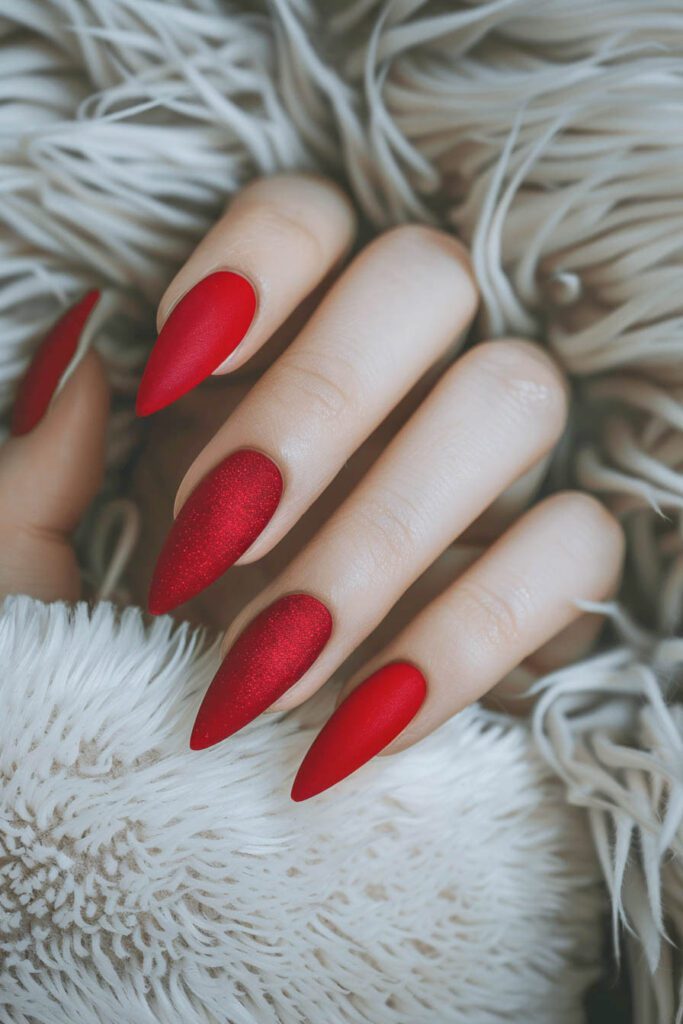
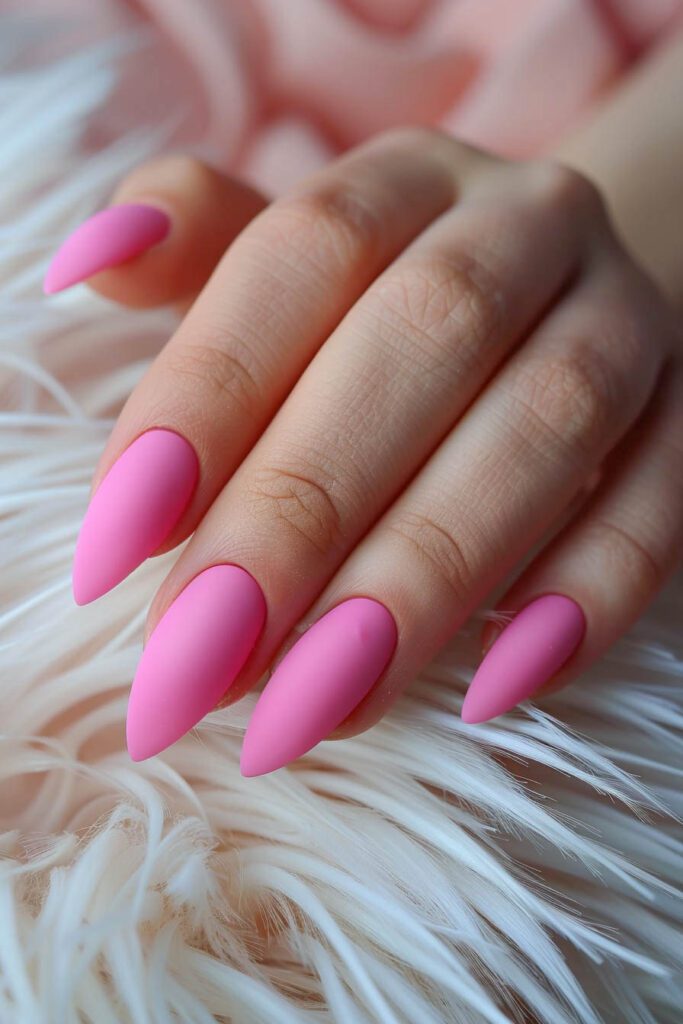
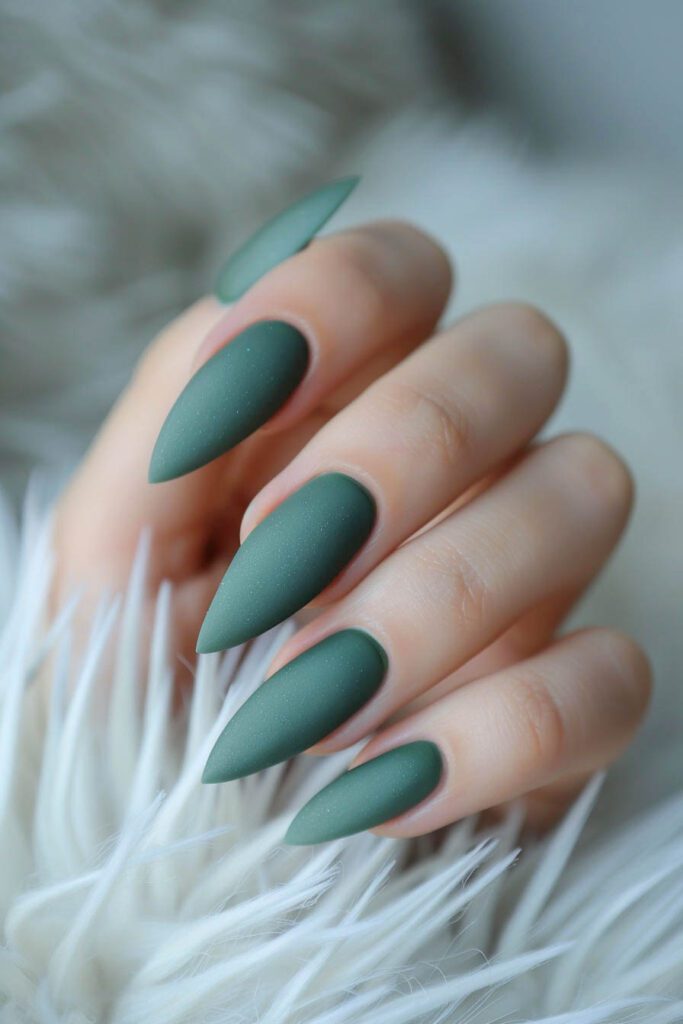
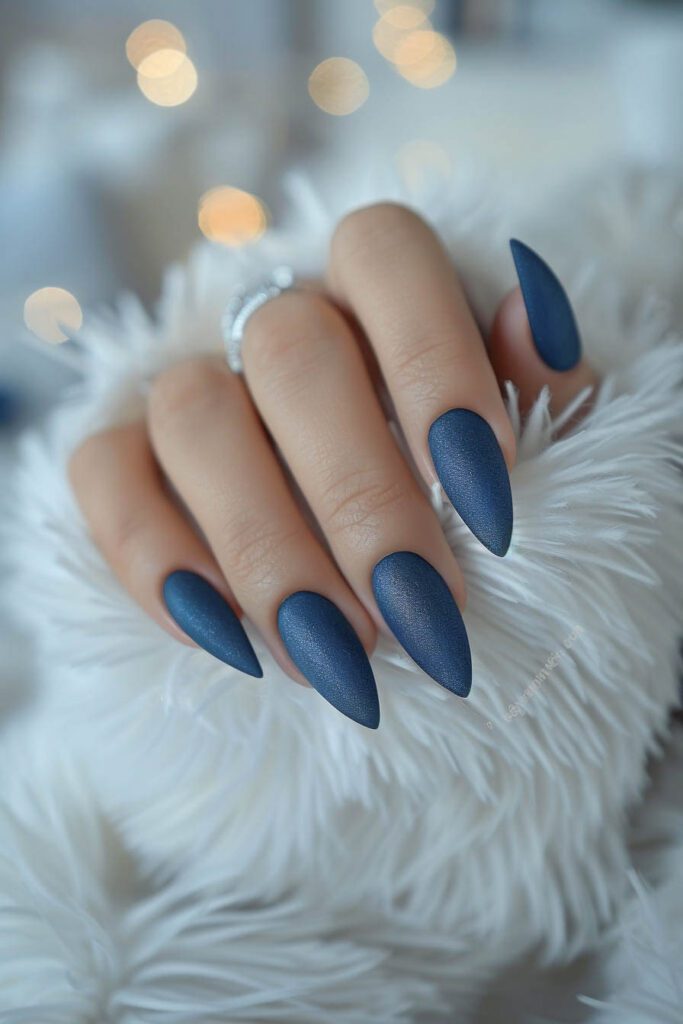
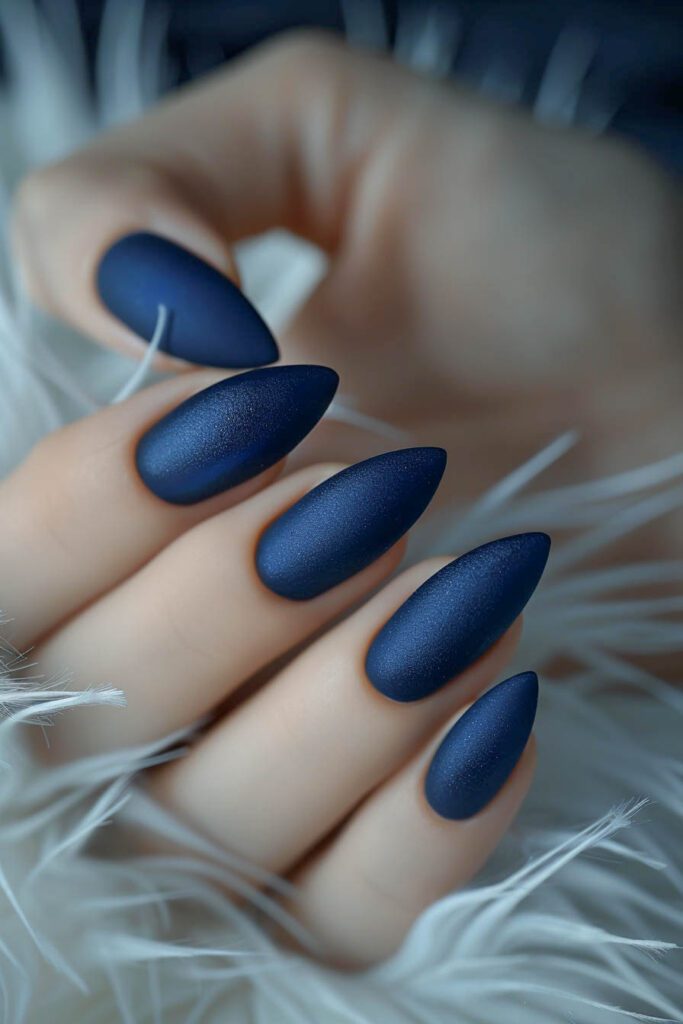
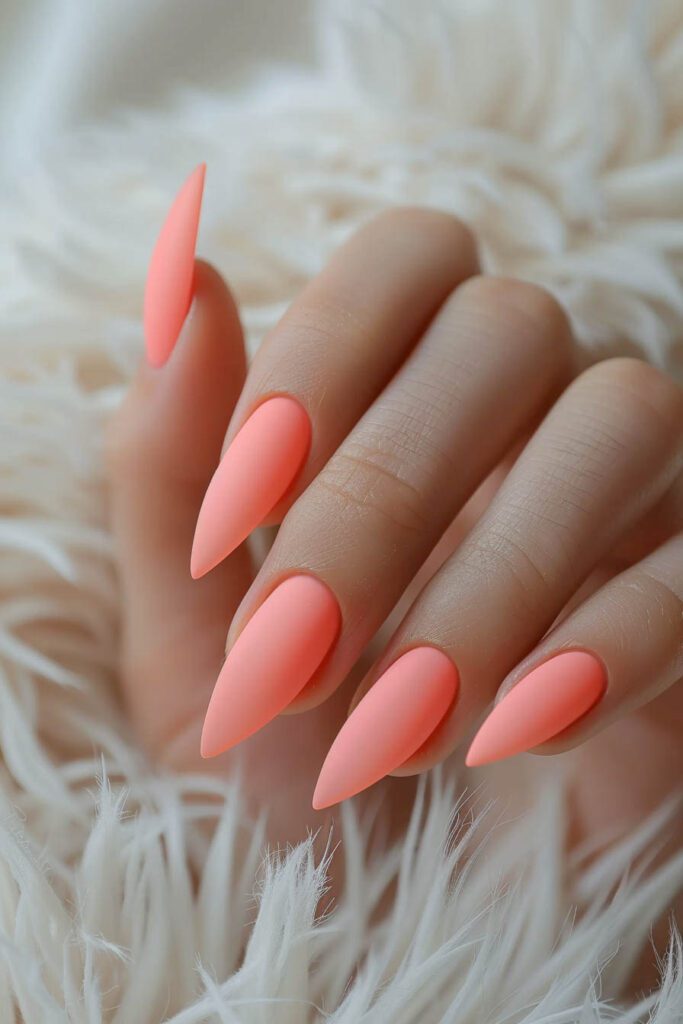
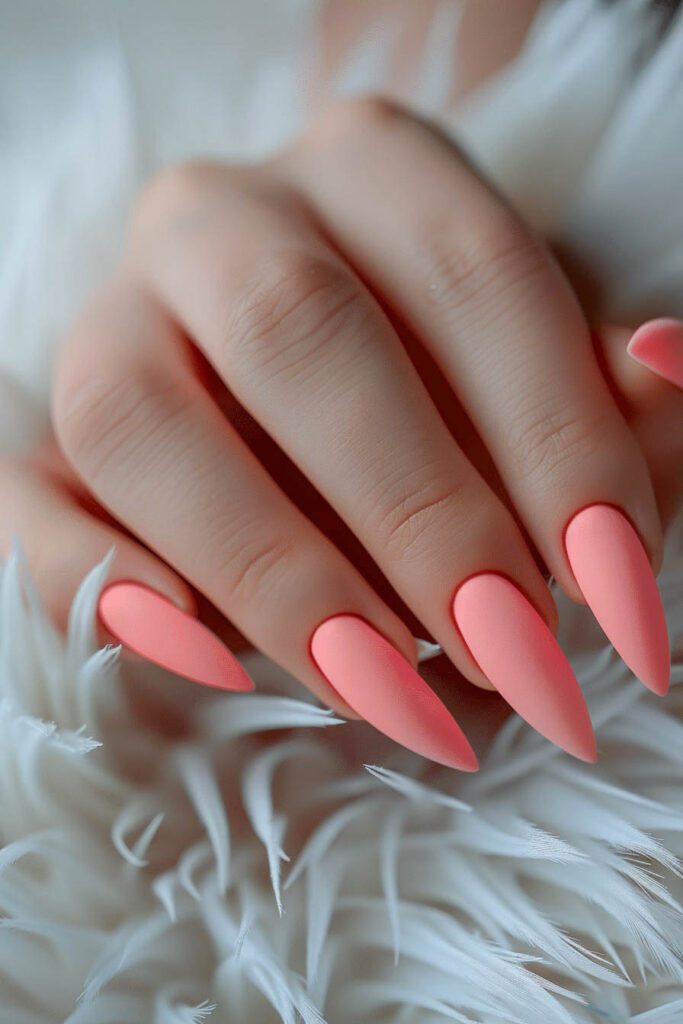
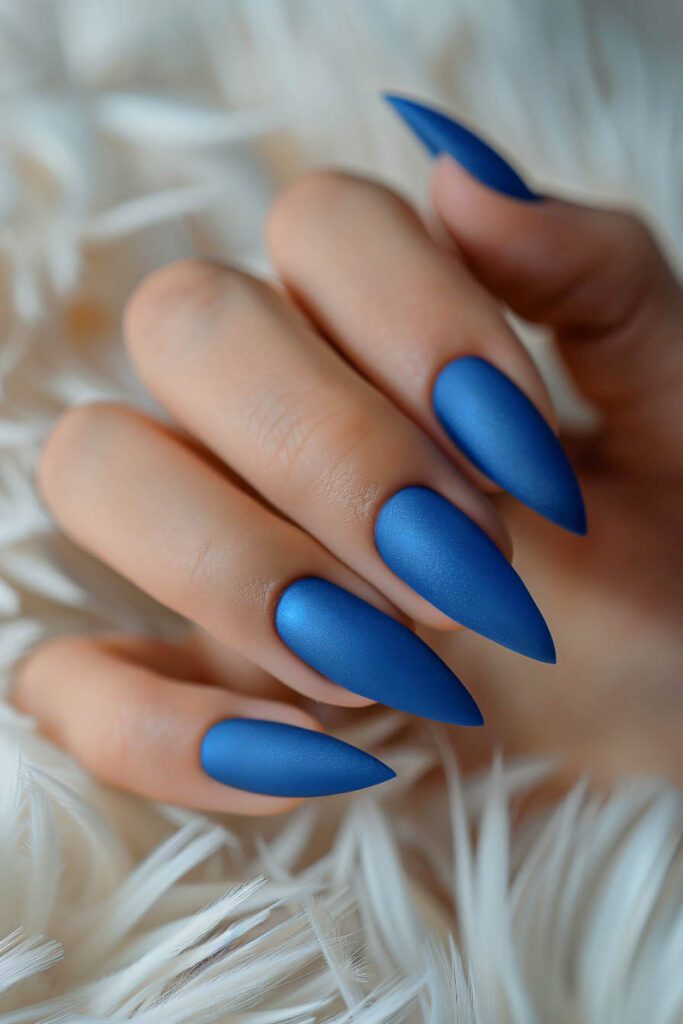
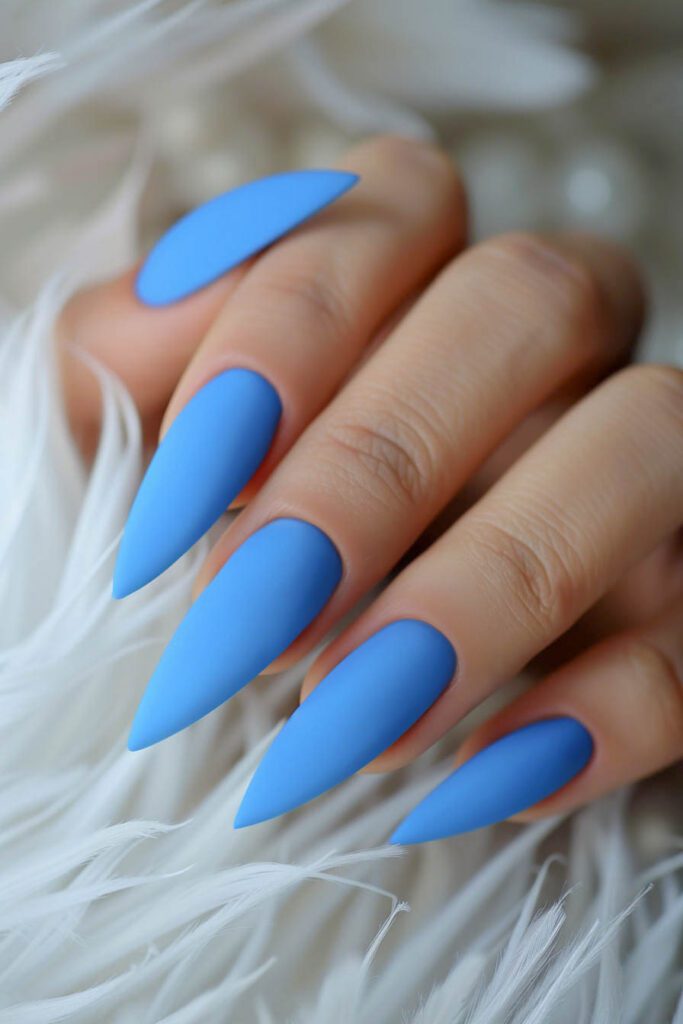
How to Create Matte Nails at Home
Matte nails offer an elegant and modern look that can be easily achieved at home with the right tools and techniques. Follow this step-by-step guide to perfect matte nails.
Required Tools and Materials:
- Nail file
- Buffer (nail polishing tool)
- Cuticle pusher and cutter
- Cuticle oil
- Base coat
- Colored nail polish (any color that looks good in matte)
- Matte top coat
- Nail polish remover and cotton pads
- Nail care oil
- Small bowl of warm water (optional)
Step-by-Step Guide:
- Preparation:
- Clean your nails: Remove any old nail polish using nail polish remover and cotton pads.
- Cuticle care: Soak your hands in warm water for a few minutes to soften the cuticles, then gently push them back with a cuticle pusher. If necessary, trim any excess cuticles with a cuticle cutter.
- Shape your nails: File your nails into the desired shape. You can choose straight, oval, round, or even almond shapes.
- Smooth the surface: Buff your nails with the buffer to create a smooth and even surface.
- Apply Base Coat:
- Apply a thin layer of base coat to each nail. This protects your nails and helps the colored polish last longer. Let it dry for a few minutes.
- Apply Colored Nail Polish:
- Choose your desired color and apply a thin layer to each nail. Allow sufficient drying time.
- If needed, apply a second layer for perfect coverage. Again, let it dry completely.
- Apply Matte Top Coat:
- Once the colored polish is completely dry, apply a matte top coat to each nail. Ensure you apply it evenly to achieve a smooth, matte finish.
- Allow the matte top coat to dry completely. This step gives your nails their final matte effect.
- Finish and Care:
- After your nails are completely dry, massage some cuticle oil into the cuticles and around your nails to keep your skin hydrated and healthy.
Extra Tips:
- Precision: Apply each layer thinly and evenly to avoid bubbles and streaks.
- Drying Time: Always allow sufficient time for each layer to dry to prevent smudging and clumping.
- Clean Environment: Work in a clean area to avoid dust and debris from settling on your freshly polished nails.
By following these steps, you can create beautiful matte nails at home!
Conclusion
Matte nails are a versatile and stylish choice for any manicure lover. With endless design possibilities, you can easily find a look that suits your personal style. From classic colors to intricate nail art, matte nails offer a chic alternative to glossy finishes. So, why not try one of these 30+ matte nail ideas for your next manicure?

For more nail ideas CLICK HERE!
Or check my Pinterest board!


